Happy Belated Father's Day everyone! I am so not good at posting those holiday recipes before the holiday. I really don't get how so many bloggers do it. I don't make the dishes until the day of so the photos aren't available until after. Do you have the recipe saved and then all you have to do is add the photo? Someone fill me in on the secret please!
If you're a regular reader (thank you, thank you, thank you!) then you know that I am part of a wonderful group of foodies over at
bakespace.com. If you haven't heard of it I suggest you stop what you're doing (please come back later!) and go check it out. Bakespace is a place for foodies like you and me to swap recipes, store them in an online kitchen, get answers to your food related questions and most importantly for me, meet some awesome people! In fact, this weekend I am taking a drive to Pittsburgh along with my friend and fellow bakespacer, Carolyn. One of our lovely members Karen is kind enough to host a large group of us so we can all finally meet face to face. I have already been lucky enough to meet some of those that are close to me and have made some great frienships that will last a lifetime. I'm really excited to meet my online family who I speak to every day in the forums.
Thanks to some of my bakespace friends I learned how to make the perfect ribs. This is a no fail method and Steve and I have made it together two weekends in a row now. I'm sure some of you make your own sauce for the ribs but we have found this premade sauce which is so delicious that I'm not even going to bother with anything else. Steve's dad introduced me to it and I'm hooked. It's called
"Bone Suckin' Sauce" 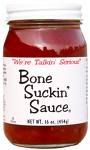
You can't get it at your average supermarket but more higher end ones do carry it.
Click here to find it at a store near you. The sauce is gluten free and contains tomato paste, apple cider vinegar, honey, molasses, mustard, horseradish, lemon juice, onions, garlic, peppers, natural hickory smoke, natural spices and salt. Nope, no one is paying me for this plug, we just really like the sauce.
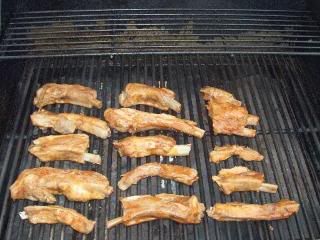
So this is a method not a recipe. There are no amounts so just use your judgement. We used baby back ribs the first time and regular ribs the second time. The baby backs are much leaner and take less time to cook, we like those the best. I also suggest buying the ribs already seperated. You may pay a few bucks more but it's worth it.
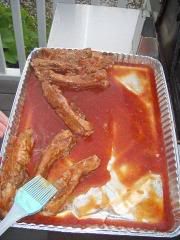
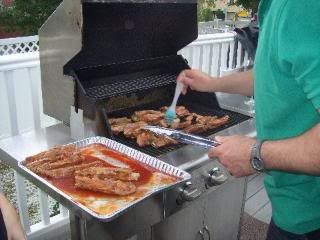
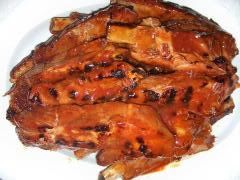
Boil your ribs in a mixture of beer, water, garlic powder, brown sugar, soy sauce, salt and pepper. If using baby backs boil for 1 hour, if using bigger fattier ribs boil for 1 1/2 hours. I used a large covered pot and had my flame on high until they came to a boil then lowered them to medium. When the ribs are cooked take them out of the water and put them in a single layer in a large pan. Cover with sauce and let marinate for about 30 minutes or longer. (I had them sitting in the sauce for a couple of hours.) Cook on grill for 2-3 minutes per side until they are lightly charred, basting each side with sauce as they cook. Since the ribs were already cooked when you put them in the marinade you can put them right back into the same pan that has the remaining sauce. Toss them in the sauce and serve. How easy is that?!?! I know some people cook them on low for 5-6 hours but I don't think that's necessary, seems like a huge waste of time for me.
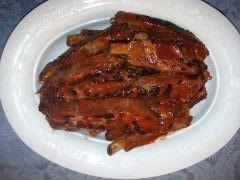
The ribs were so tender that as soon as we bit into them they fell right off the bone. The flavor was delicious and they were a big hit at both of our Father's Day Celebrations. Give this method a shot and you won't be disappointed.
When we're busy I forget to take pictures but my brother came to the rescue!
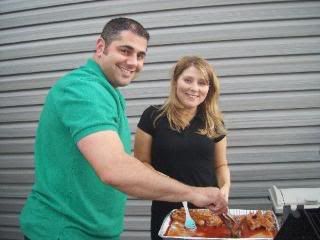

HAPPY FATHER'S DAY DAD!


.JPG)
.JPG)


